We use cookies to make your experience better. To comply with the new e-Privacy directive, we need to ask for your consent to set the cookies. Learn more.
Blog
Laminating Sheet Creates Durable Marker for Files
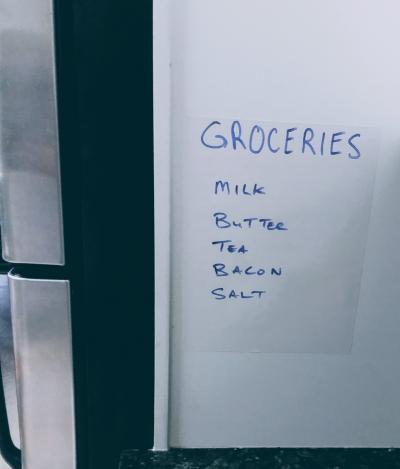
Laminating important documents or certificates is a great way to store new items, while giving them an instant professional appearance. C-Line has several at-home laminating products that allow you to protect documents without heat or special equipment.
The laminating film has allowed me to create my own bookmarks, calendars and even recipe cards. However, I recently stumbled across a new way to use the laminating sheets that allows me to stay even more organized at the office.
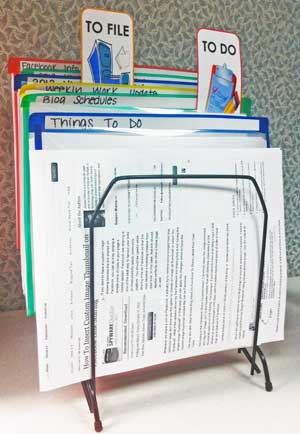
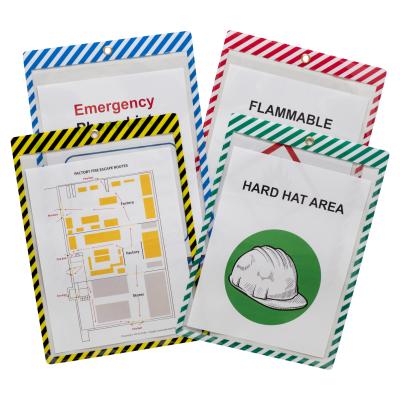
To start, it is important to first know a little bit about how my desk is set-up. Typically, I store Write-on Project Folders on a stand-up file rack to keep current files on hand. Majority of the time the folders are storing current projects I am working on, new product information and anything else that I need to access quickly.
I often find myself scanning through the folders to find a form that needs to be completed or looking for paperwork that needs to be filed away. As with most jobs, it is common to get diverted to another project that may arise. In order to keep my thoughts together and to stay on track, I have created a system that allows me to keep my place for me.
Paper-marks are something that I have developed in order to point out specific pages that may have particular interest for me within a file.
Here’s how I make them:
 The laminated paper-marks stick straight out of the project folder, so it lets me know I have work to do on that particular project. The laminated paper-marks stick straight out of the project folder, so it lets me know I have work to do on that particular project. |
- First, I use the computer to customize my paper-marks, which are similar in size to a bookmark.
- Next, it is time to print and begin laminating the paper-mark. My personal preference of C-Line’s selection of laminating sheets is the Heavyweight Cleer Adheer sheets that are 9 x 12 in size and have a clear finish.
- The directions to laminating are to simply peel off the backing paper and apply to desired document. Since I laminate both sides of the Paper-mark, I make sure to smooth out any air bubbles when the second sheet is put in place to make it secure as possible.
- Once complete, I cut off any excess laminating film, so the paper-mark is sized appropriately. Now, they are all ready for use.


Leave a Reply
Your email address will not be published. Required fields are marked *